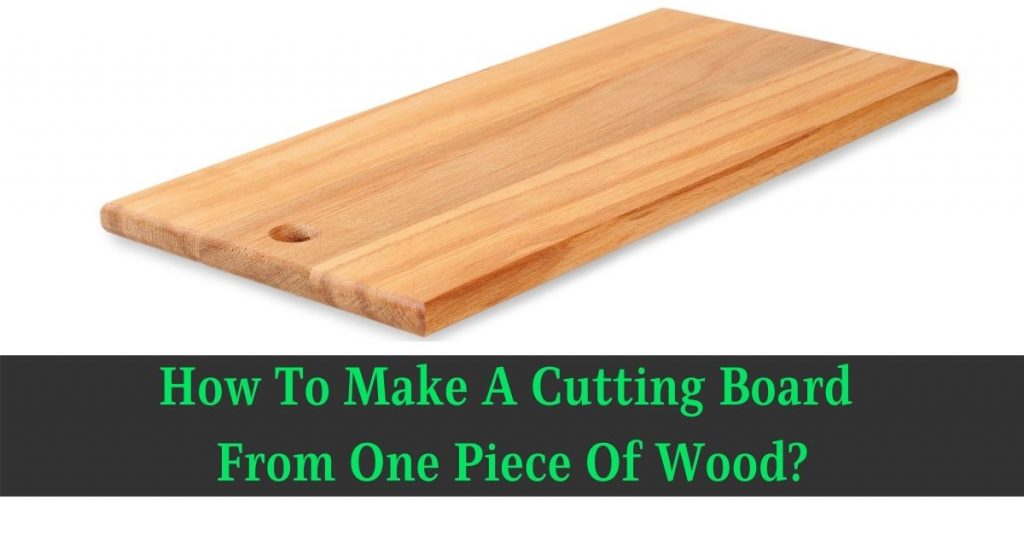
A Cutting board might be one of the most useful tools in your kitchen room, but when it comes to buying a cutting board, you may don’t want to spend money to buy it.
And maybe you’re looking for a guide on how to make a cutting board from one piece of wood. Because buying a cutting board might be costly, while making it at your home may save a lot of money.
No worry because here I’m going to make a complete solution to this, and at the end of the guide, I will provide you with some valuable tips that you can follow to make a perfect and kitchen-friendly cutting board.
Before you get into the process I’m going to show you in this tutorial, make sure you have enough time to follow the entire post.
How to Make a Cutting Board from One Piece Of Wood:
Making a cutting board from a single piece of wood is a great way to create a beautiful and functional kitchen tool that will last for years. With the right tools and techniques, you can create a cutting board that is both sturdy and aesthetically pleasing. The following four-step method will guide you through the process of making a cutting board from one piece of wood. These steps include selecting the right type of wood, preparing the wood, cutting the board to size, and finishing the board to protect it from moisture and wear. Whether you’re a beginner or an experienced woodworker, this method will help you create a cutting board that you can be proud of.
Step #1: Pick A Right Piece of Wood:
The first step of making a kitchen-friendly cutting board is to select the right piece of wood that will be fit for the project.
For your convenience, pick a slab of wood at least 2” thick, 12” wide, and 3 feet long. For example, you can choose maple or cherry-type hardwoods because they are suitable to smooth woods such as cedar or Douglas fir.
You can also pick Oak, but it’s hardwood and not a suitable option for making the best cutting board because of its open-grain structure.
In addition to keeping these facts in mind, you’ll also make sure you have picked the right type of wood that is safe for all kinds of foods.
Step #2: Prepayer The Wood:
Assuming you have properly followed the number one step to pick the right wood, now all you need to do is prepayer your wood for the next step.
So setting the thickness of your planer to carry away 1/16” of wood at a moment, and lead the board with it multiple times to flatten both faces.
If you notice the grain on the board’s side has a slope, you’ll need to feed your board into the planer beginning with the end that the grain slopes down toward.
For faster work, I will suggest using a good miter saw to crosscut the board into 2 equal pieces as well as square up the ends.
After your miter saw using, you will require to get a bit of help from a table saw to crop the weathered wood from each side and rip your board into strips.
Step #3: It’s time to Glue the Strips Together Properly:
In this step of making a cutting board from a piece of wood, you’ll need to place your strips on a table and separate them into 2 different sections.
After that, Turn each strip so that the way of the end grain varies from one strip to the close.
Now you have to set aside one strip in each section and turn the rest a quarter-turn anticlockwise, then implement and expand food-safe, impermeable waterproof wood glue on the turned strips, at the first time with an acid brush, next time with a stick.
Then Twist all the strips back a quarter turn, and put all the strips against the irradiated glue on one side of each rally.
Step #4: Clamp and Cut
In this four-number step of making the cutting board project, you have to clamp the united strips into 2 sections. You can get help from a damp rag to wipe up the glue.
Good to say that it will take up to 1-2 hours to dry the glue, so wait until the glue has dried properly, and clamp a stop to the miter saw table 2” from the blade. Crop the panel ends carefully. Touch an end toward the end as you chop each panel into identically sized layers.
Now stagger the strips carefully. After that, you’ll need to use a circular saw and edge guide to crop one side square to the finish and then also crop the other part using the same machine.
If you want to make your cutting board softer, you can run your board via the planer. Well, now in this time, you’ll need to use a router to round over all the vertical corners perfectly.
At the finishing time, you can Coat your board corners with Mineral Oil to make your cutting board long-lasting.
Also Read:
Final Words:
I hope the guide about Making a cutting board from one piece of wood will massively help you make a professional cutting board yourself at home, but if you face any issues, let me comment below!

