If you regularly use your table saw on rough or dense materials, you will most likely need to replace saw blades more frequently than you would when you just cut wood. Blades designed for cutting harder metal or ceramic tiles are common kinds, but certain projects may require other blades with sturdier teeth that are heavier and more durable. Blade replacements are an important part of maintaining your table saw. If you don’t replace the blades regularly, you could find yourself spending more money in the long run than necessary to continue using your saw.
To learn how to change a saw blade, it is helpful to first determine which blade types you currently have and how many teeth each blade has. You can find this information on the product documentation, or by contacting the manufacturer. Blades and tooth sizes are determined by several factors, including the type of wood, the distance the blade needs to be from the work surface, and the amount of pressure applied to the work surface while the blade is being used. If you are unsure of these specifications, it is a good idea to ask the manufacturer or the supplier that sold you the saw how to change a blade so that you can make the necessary adjustments.
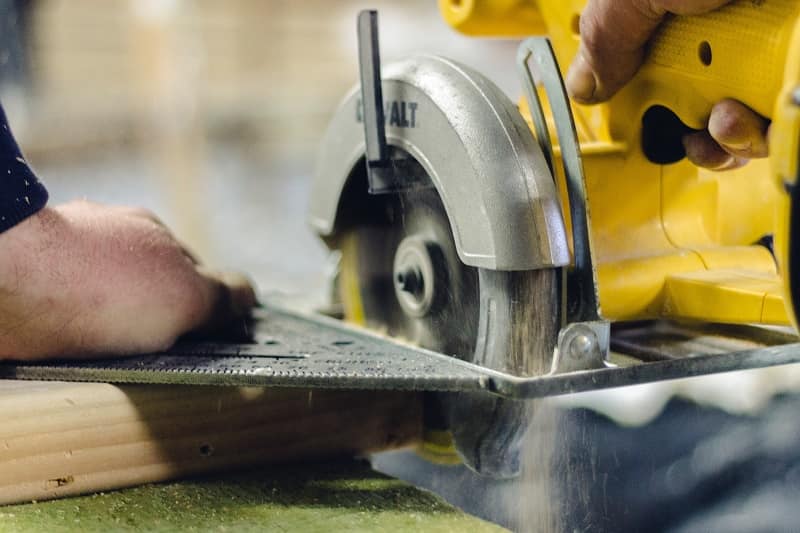
Most table saws come with blade changes kits that allow users to easily complete the task. However, if you are not comfortable using the saw’s manual, or simply don’t know how to change a blade, there are many other options. Before beginning, ensure that all the components are disassembled, so that you can accurately measure the distance between the teeth and the work surface. This distance is referred to as the teeth width. It is also important to measure the height from the saw’s table rail to make sure that your new blade will fit. This height will determine how deep you need to go to reach the blade.
Once you have measured the height and the width of the blade, locate the jamb and blade guide on the saw table. The jamb guides the blade into the appropriate position when it is in use. On most table saws, the blade is held in the up position by a retaining ring or clamp. Once you have located the clamp, remove it and set the blade into place with the blade guide positioned underneath it. Stop the motor and reset the blade to its appropriate position.
After making sure the blade is in the correct position, close to the saw’s blade cover (if applicable). You can then insert the blade into the saw and attach the blade brush. This is how to change a saw blade. Place the blade in a place where you intend to make the cut, but do not close the blade until the saw is cool enough.
If you do not have a saw table, you can prop up the blade so that you are not laying on the ground while you perform this task. With a blade in your hand, bring the blade up to your chest and angle it downward. Now you are ready to make the change in blade.
Some individuals may find it necessary to purchase a blade that can be adjusted. Blades can be purchased at a variety of retailers or online. Blade adjustments allow you to fine-tune the cutting action of the blade. To learn how to change a saw blade, make sure you follow all of the instructions carefully. These steps are especially important if the blade is not properly adjusted.
Blade adjustments should be performed at regular intervals so that the blade will be properly aligned with the saw table. Blade adjustments should be performed every ten or fifteen minutes. By changing the blade position you can get the best possible cut. Learning how to change a saw blade is simple if you follow the correct steps.